Create and Configure a Schedule in Cisco Webex Control Hub
Create a Schedule
The names of the events and the schedule need to be distinct from one another.
1 From the customer view on https://admin.webex.com, navigate to the Services menu, then click on Calling, and then select Locations.
2 First choose a place, and then in the panel on the side, click the Scheduling button.
3 Click Add Schedule.
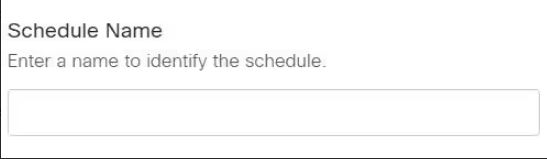
4 Type in the Name of the Schedule.
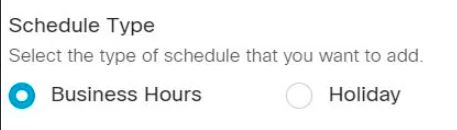
5 Select Business Hours from the drop-down menu located under Schedule Type to establish the routine for your daytime work hours, and then carry out the steps that follow:

- Determine the days of the week that your company is open for business.
- Please include the hours of operation for each day.
- Choose the lunch break, and then modify the hours that are applicable to each and every business day. This step is only necessary if your company observes a lunch break.
- Select the Save option.
6 Choose Holiday from the drop-down menu located under the timetable Type drop-down menu to construct a timetable for specific days throughout the year when your organization is closed, and then proceed as follows: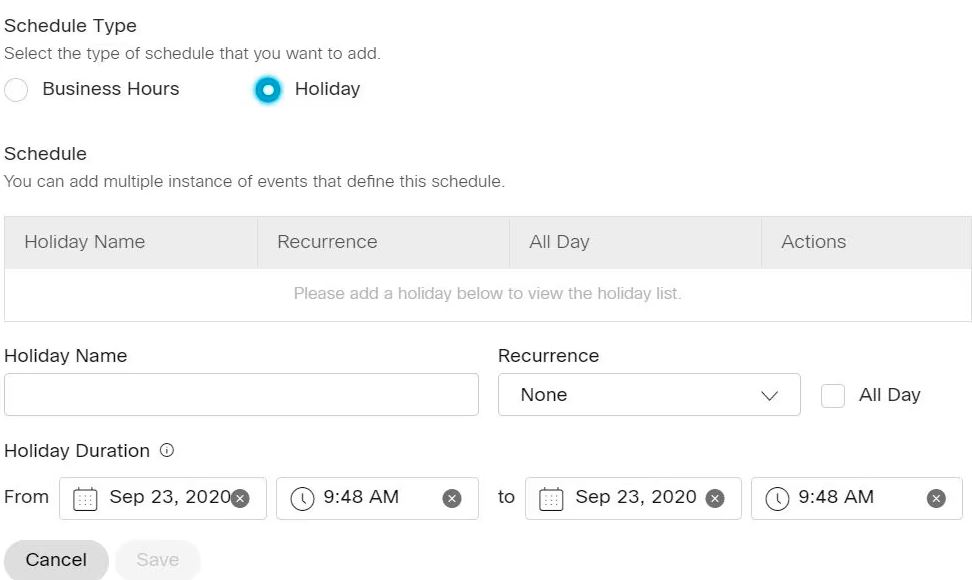
- Put in the name of the holiday.
- Choose the frequency of the occurrence by clicking the radio button next to None, Weekly, or Annually.
- Mark the checkbox if the holiday is an event that lasts the whole day.
- Select the Day or Date under Holiday Duration, and then add the relevant information depending on the frequency of the event.
7 Select the Save option.
Edit or Delete a Schedule
At any point in time, you are able to modify or remove a schedule. You also have the option to export a timetable.
1 Navigate to Services > Calling > Locations on the menu bar.
2 First choose a location, and then select Scheduling from the menu.
3 In the list of schedules, select the schedule you want to edit or delete, and then click the Edit button.
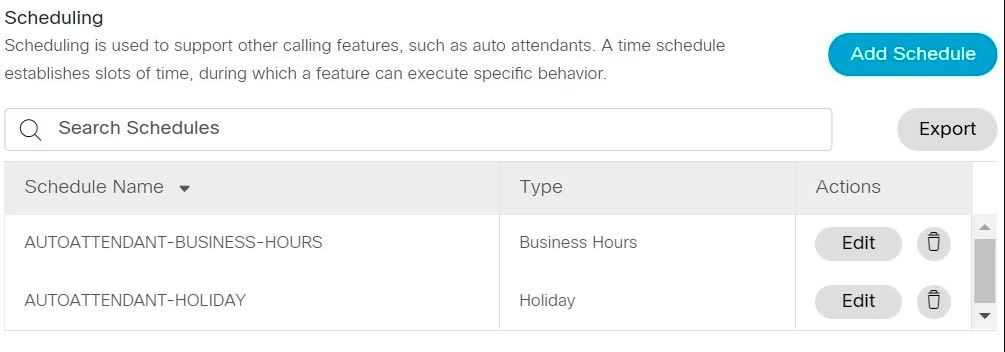
4 A schedule can also be exported in the form of a.csv file. After making your selection, click the Export button.